One of
the purposes of Project Budget Hauler was to have all of the
creature comforts and luxury of a new modern truck but had a
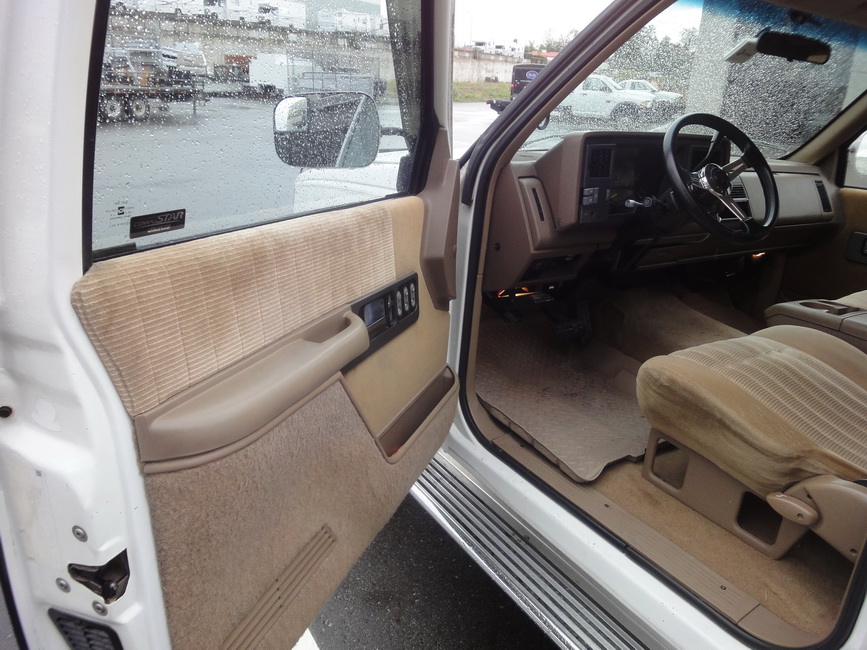
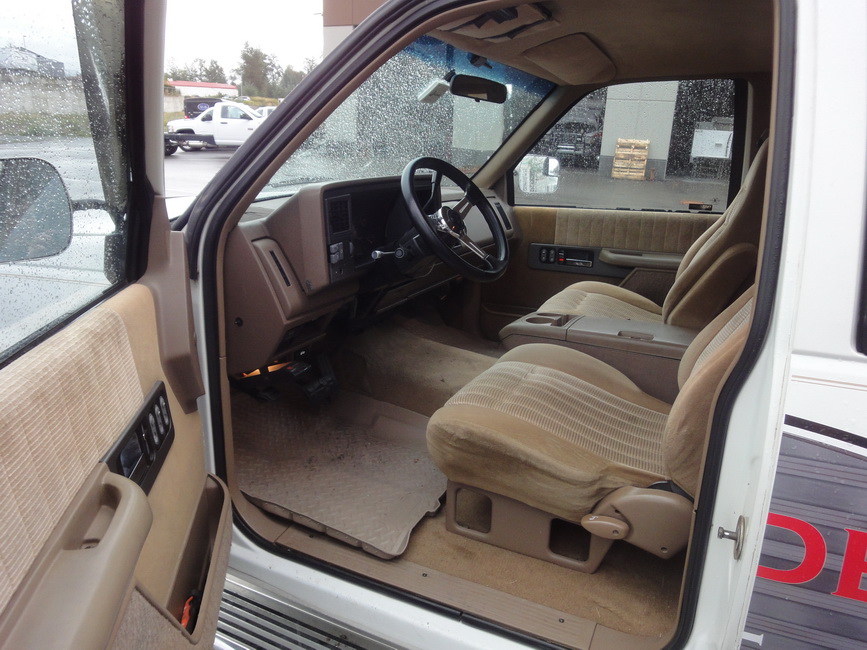
discounted price. When we bought Budget Hauler the interior had
the typical California sun damage and had seen better days so we
knew that it was something that was going to be replaced, so
spending more on a 95-98 GM Truck wasn’t worth the extra money
when the 88-94 are way cheaper and the only real difference
other then some exterior trim was the interior. There are
hundreds of thousands of the 95-98 GM trucks on the road which
also means there are plenty of them in junk yards and auto
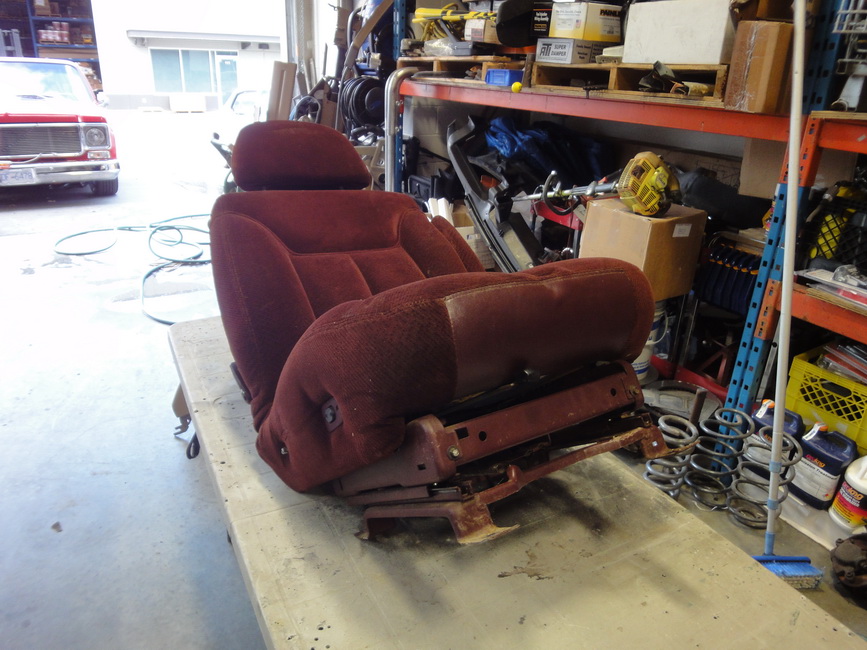
recyclers around the country. We went down to our local truck
auto recycler and picked up the complete dash, door panels and
all the trim along with the front buckets and rear bench seat
for a mere few hundred dollars. The parts were dirty and worn
and the cloth on the seat had seen better days but since we had
a new leather kit from Roadwire to install on the seats and a
case of Color Bond vinyl dye from LMC Truck all we needed to do
was put some elbow grease into the parts and we would have a
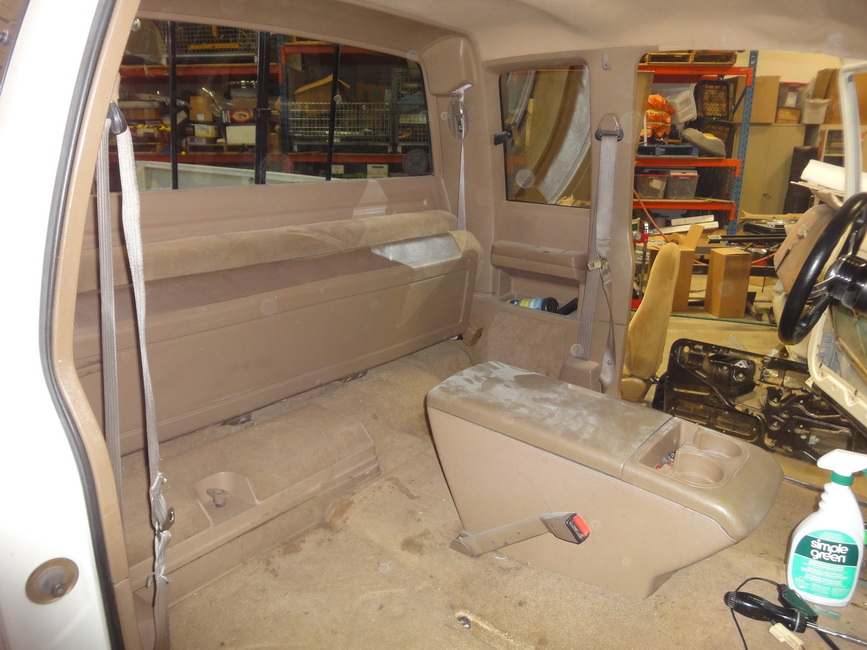
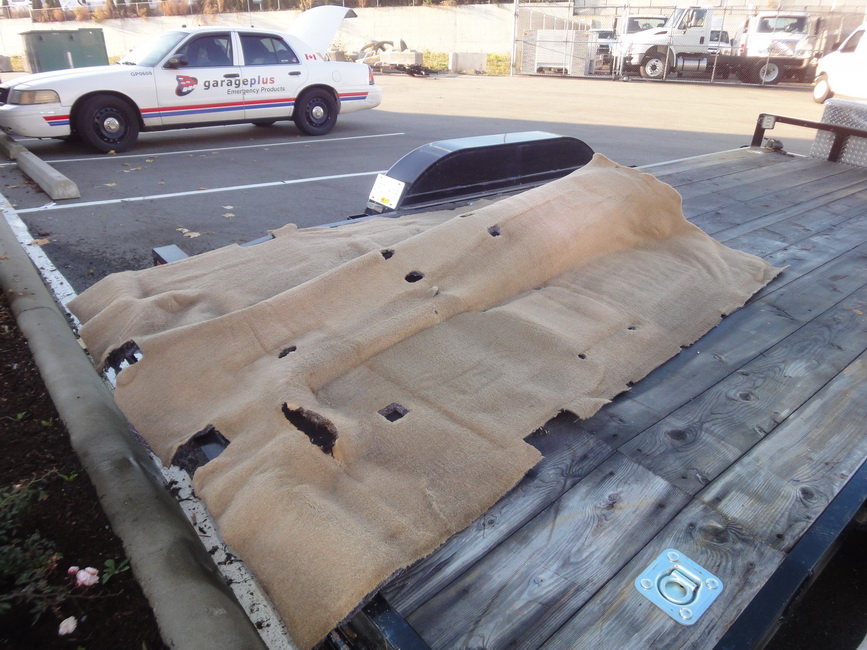
brand new interior. The stock carpet was in decent shape and no
one out there makes a replacement that fits like the OEM so once
we had it removed we took our pressure washer and some Simple
Green to it and had it come out looking like new in only a few
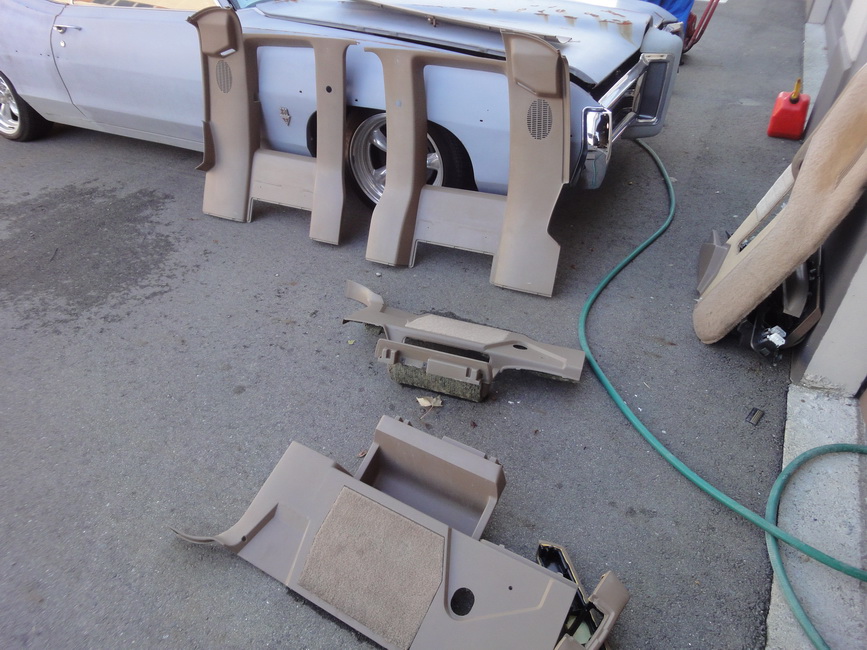
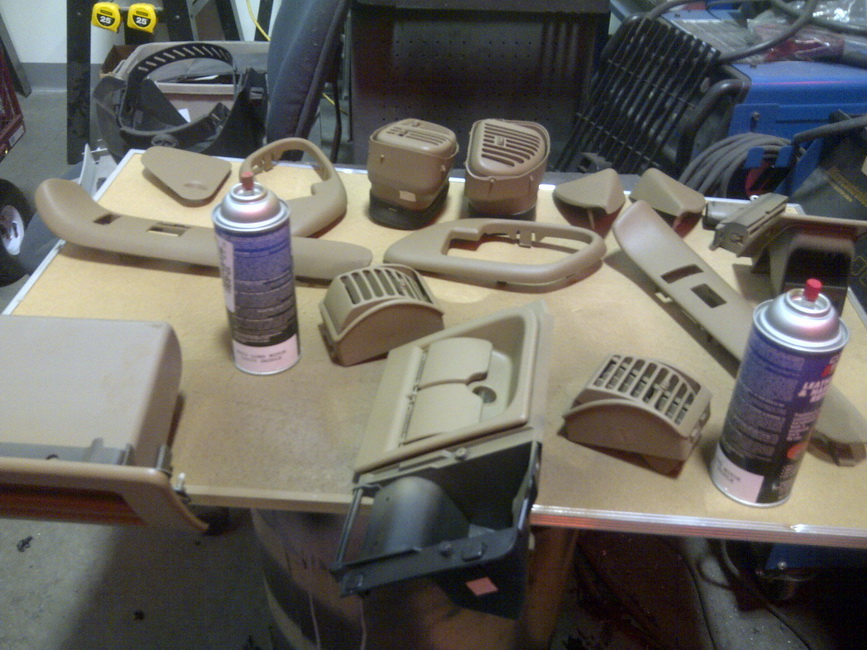
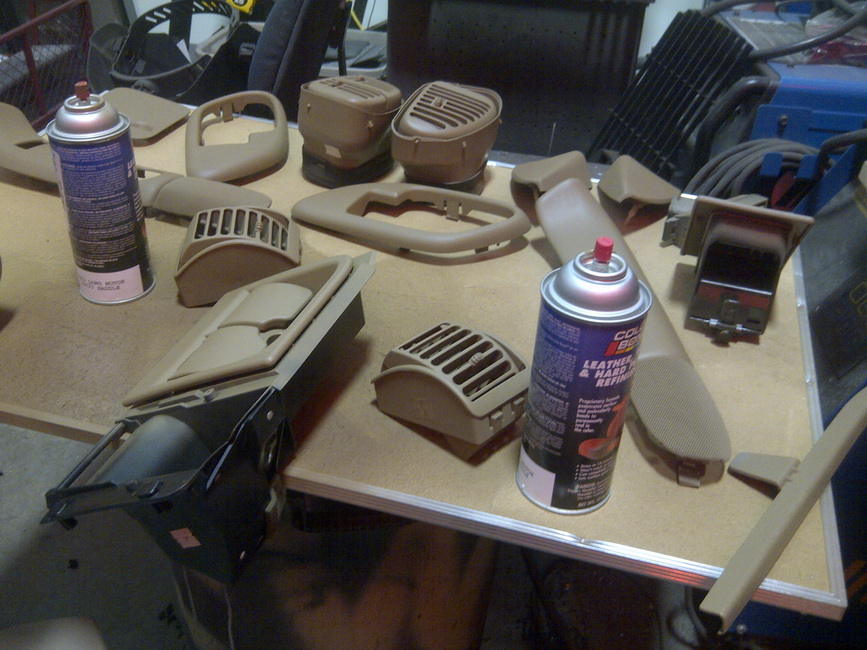
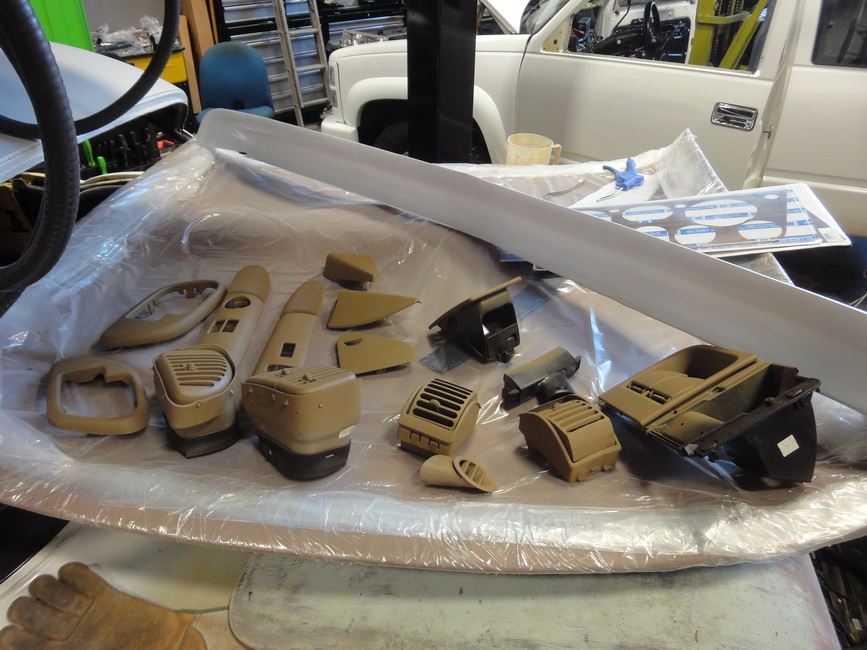
minutes (and a few days of drying time) We took each individual
piece of our new interior and our old interior and attacked them
with the same Simple Green/Rinse process till everything was
squeaky clean. Once everything has dried we started to apply
light coats of our new vinyl color “Saddlestone” from Color Bond
which we got from the folks at LMC Truck. This Sandstone color
matched perfect with the leather kit we got from Roadwire as
well as the new headliner/visors that we also got from LMC
Truck.
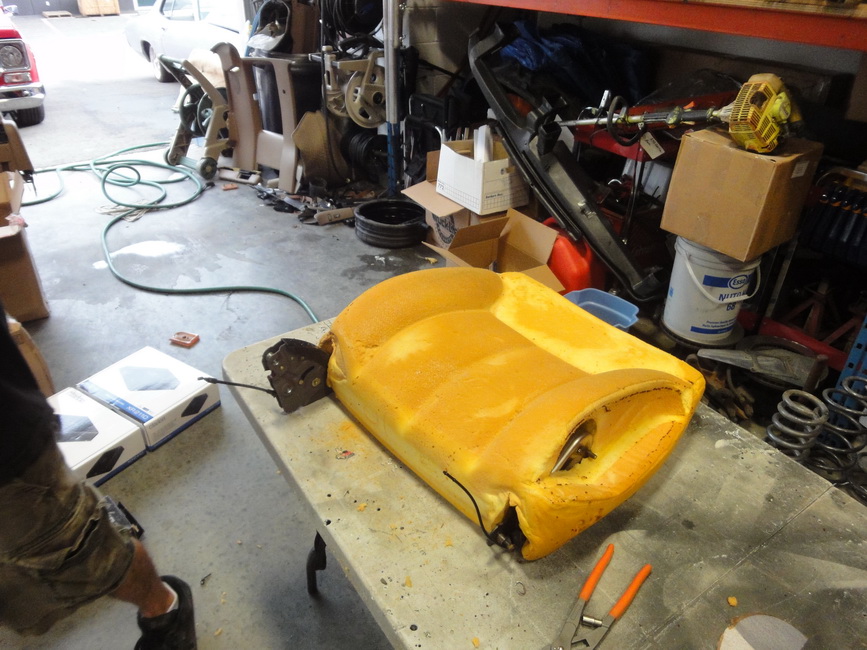
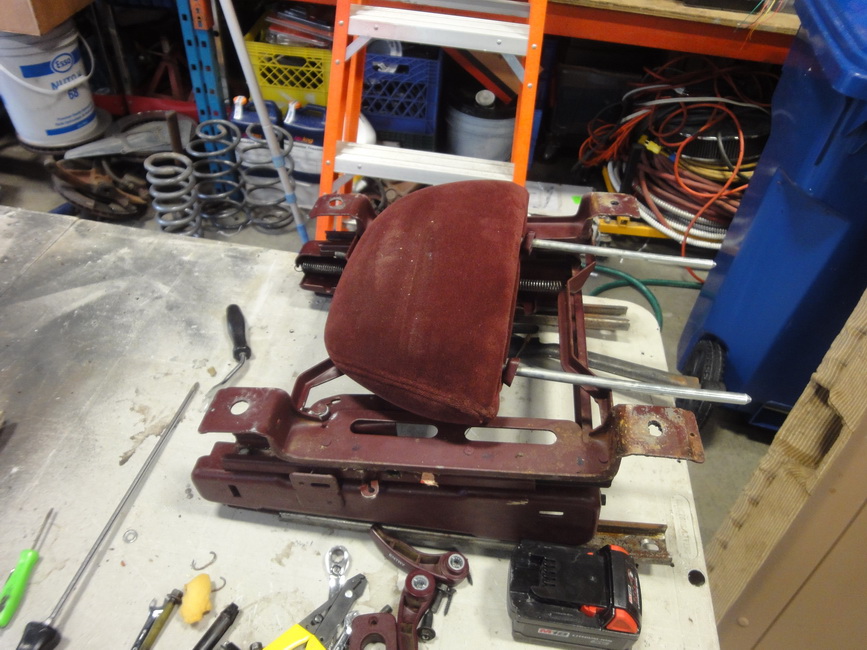
The new
seats were stripped down completely and each piece was cleaned
before installing our new Roadwire leather kit. The new leather
covers for the arm rests simply go over the old cloth but the
actual seats had to be taken completely apart and remove the old
cloth and install the new leather covers with new hog rings and
clips. With all of the covers installed all that was left was to
dye the small hard parts on the seats to match everything else.
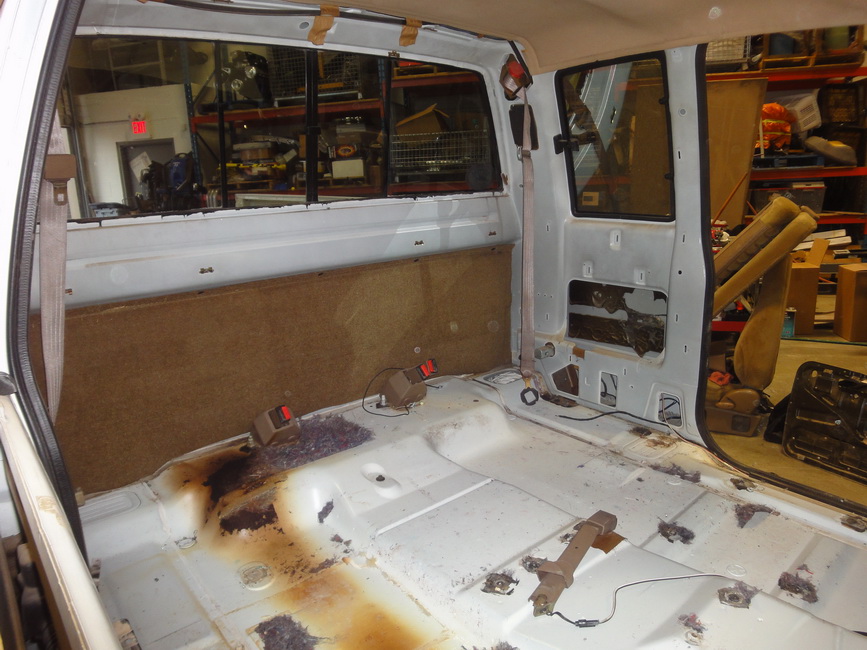
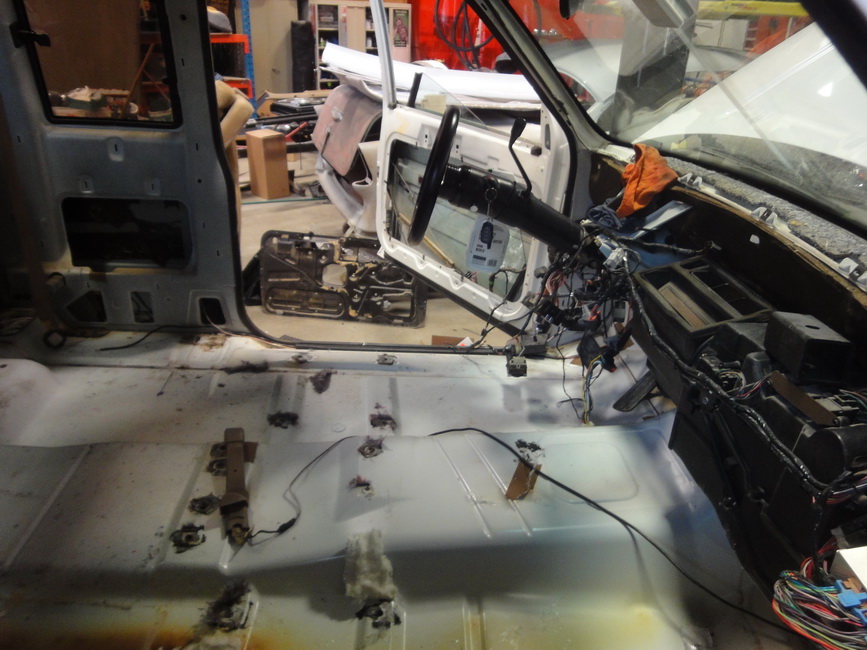
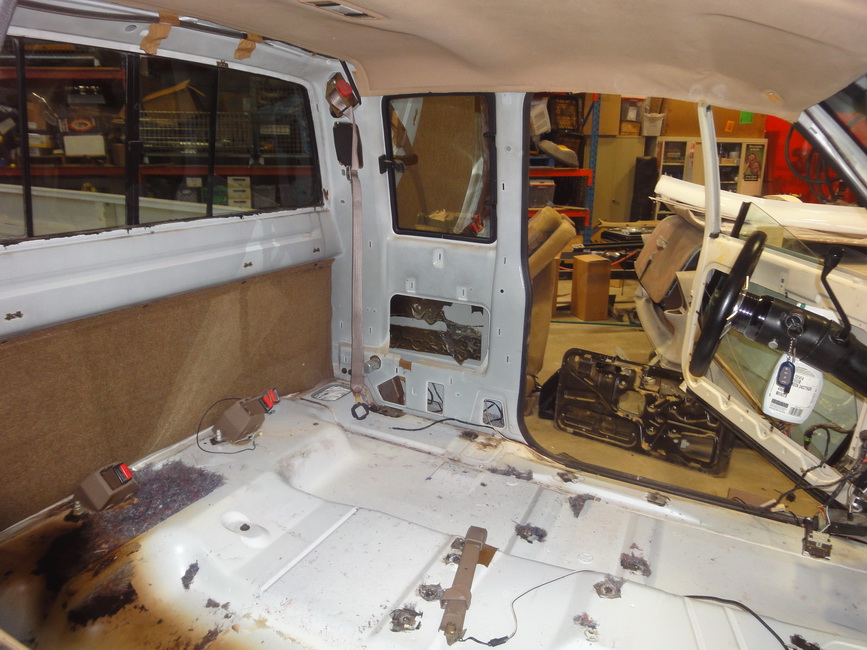
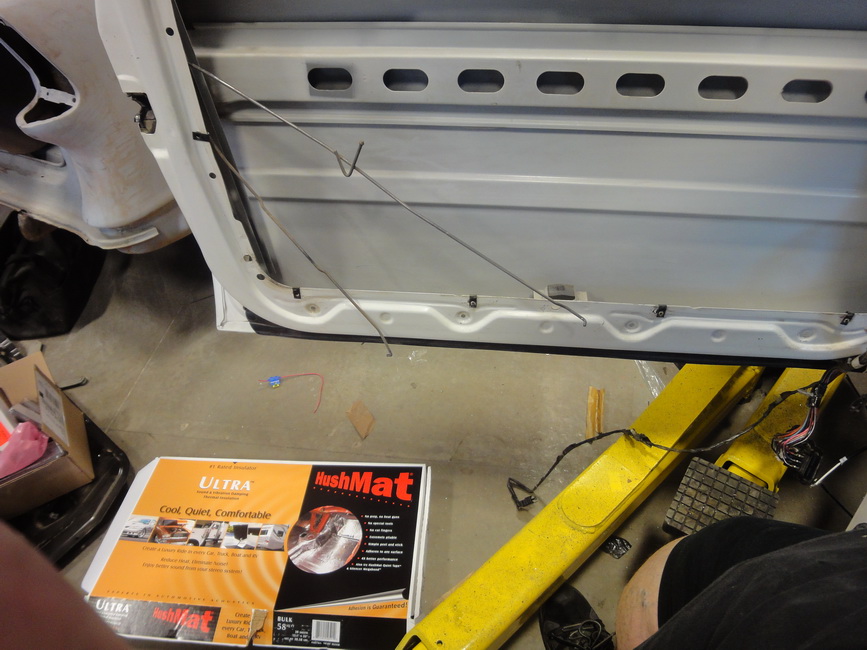
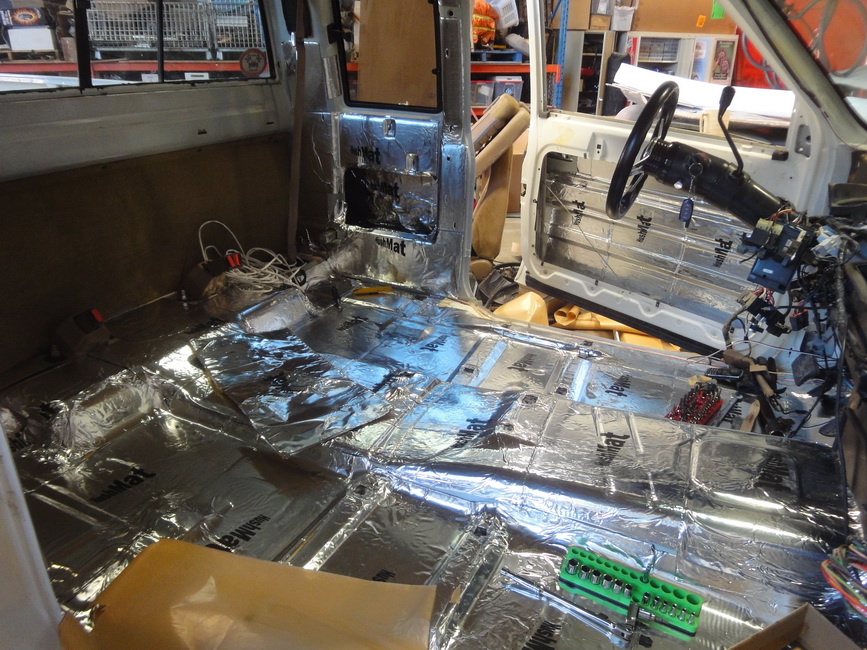
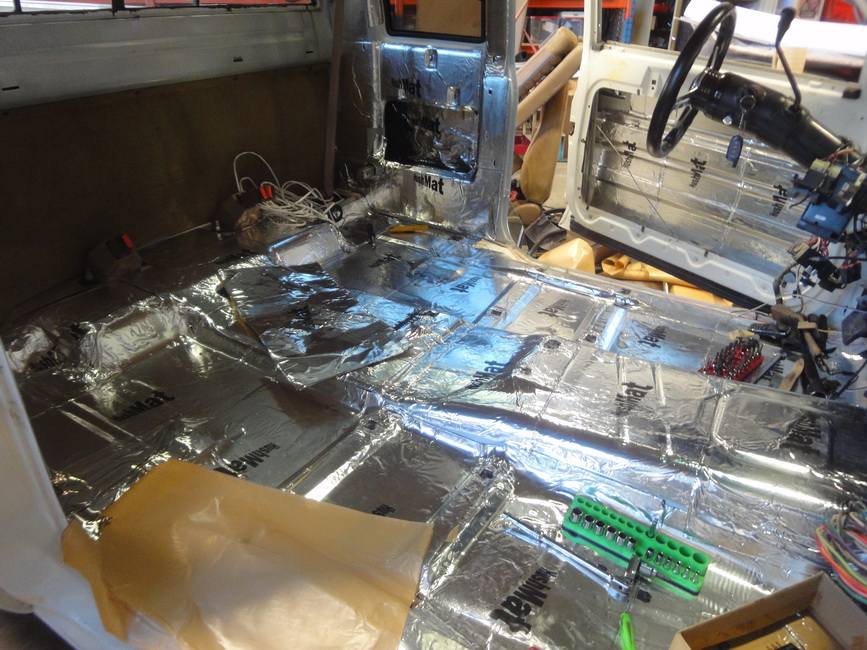
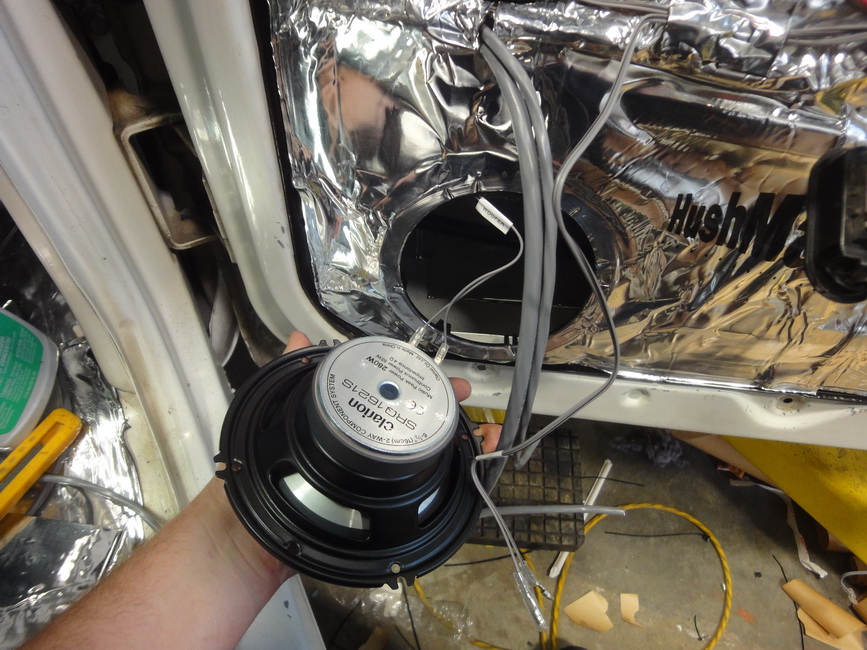
With
the cab stripped and cleaned out (Is there anything better then
Simple Green for this??) we started laying down our Hushmat
sound deadening material on all of the bare surfaces of the cab
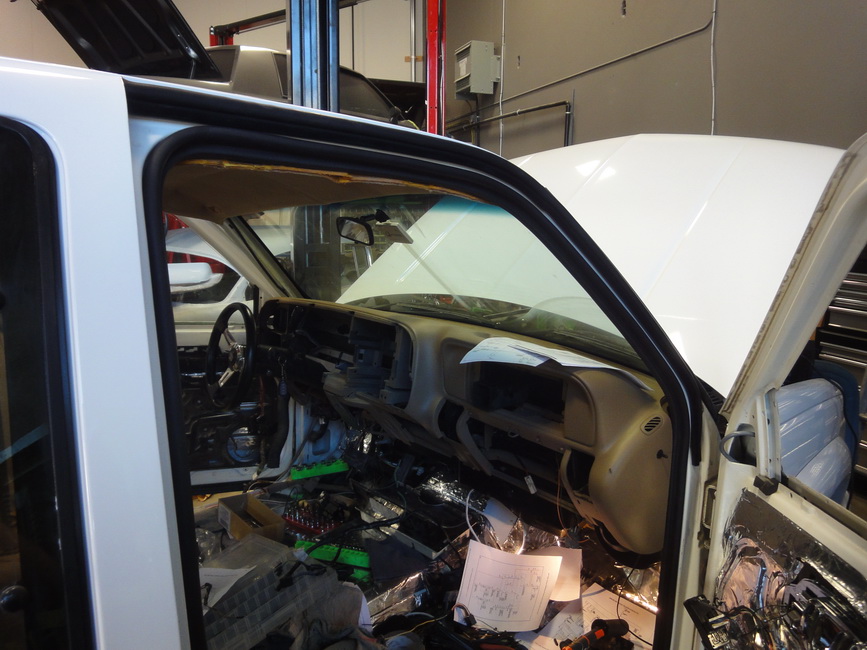
including the insides of the doors and roof. With the back half
of the cab done we had to move onto the dash. Now the dash bolts
into the cab, however things like the gauges, HVAC controls and
everything else is different so we began the tedious task of
soldering all of the new connectors onto the old harness’s and
making the changes needed to make all of the new components work
with old truck.
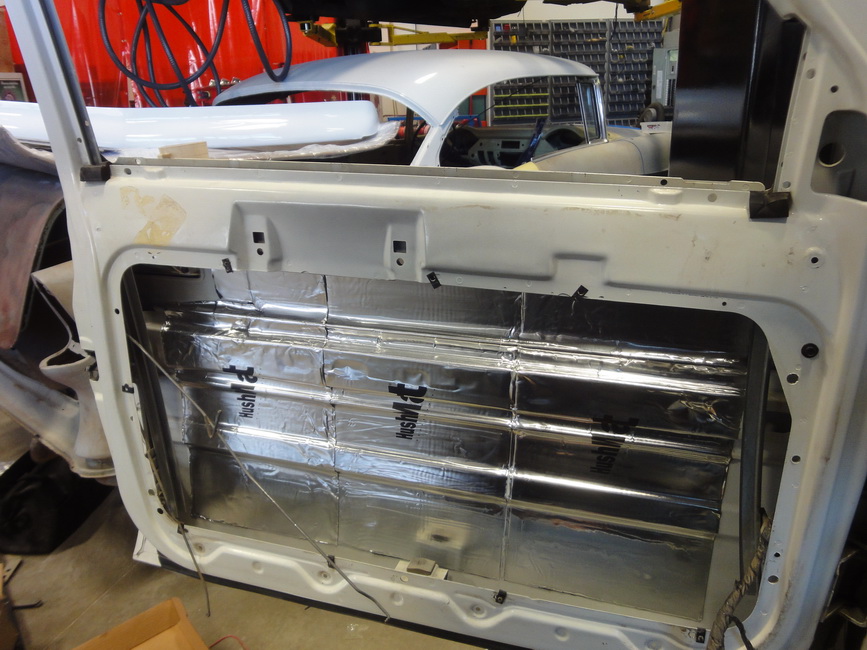
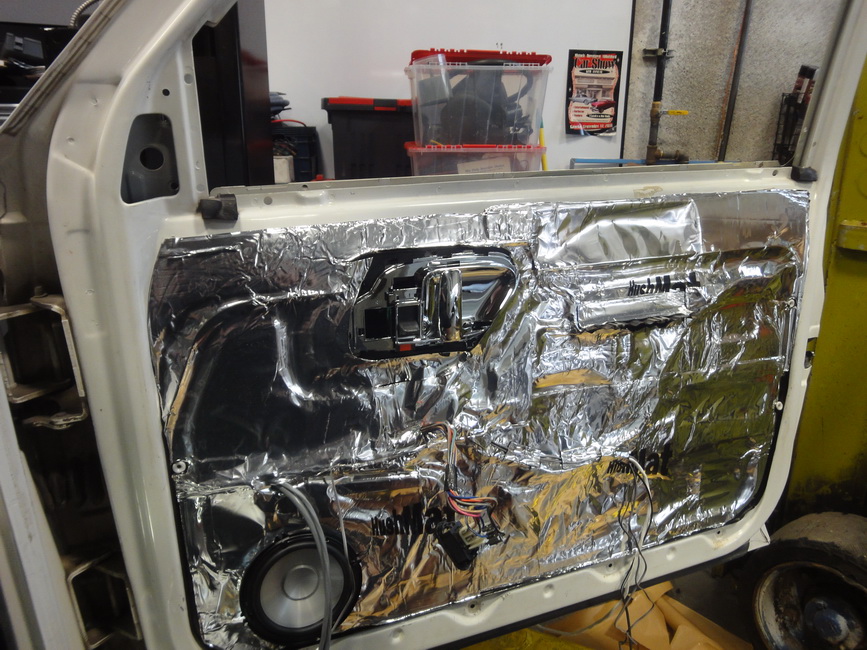
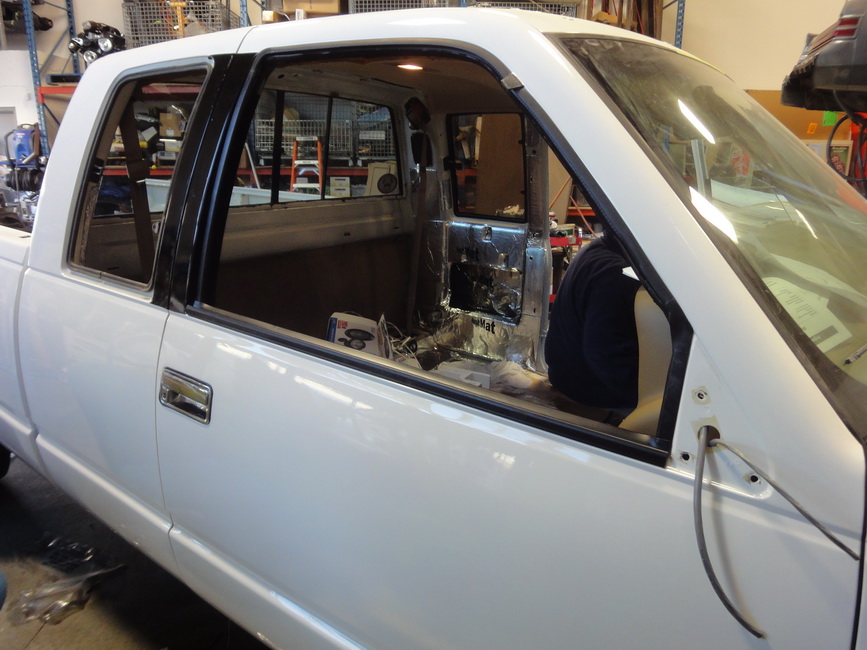
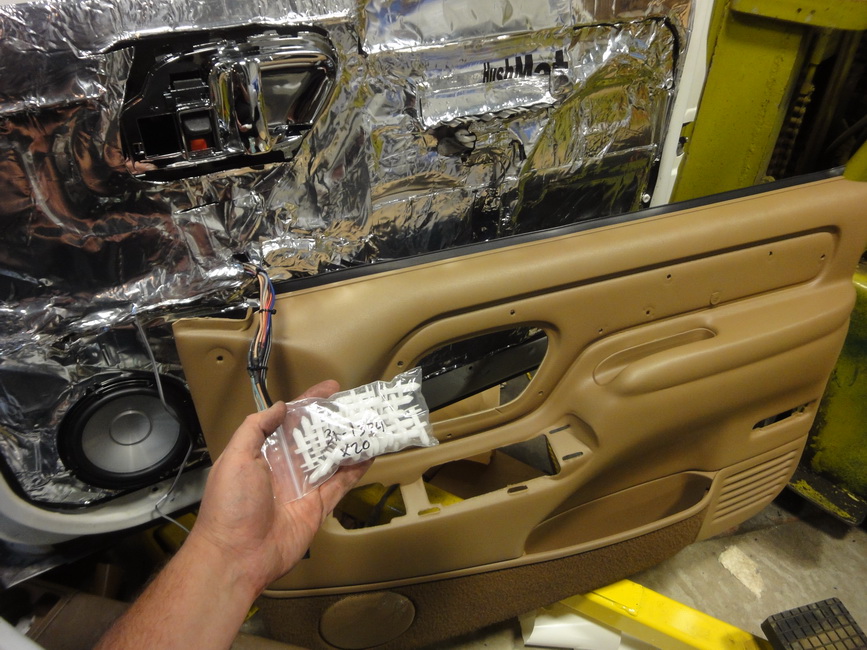
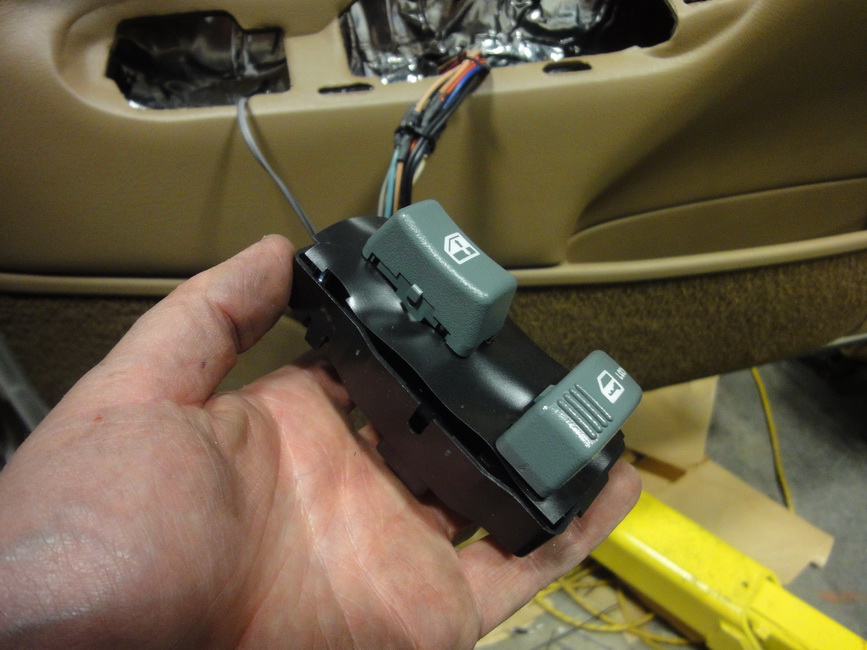
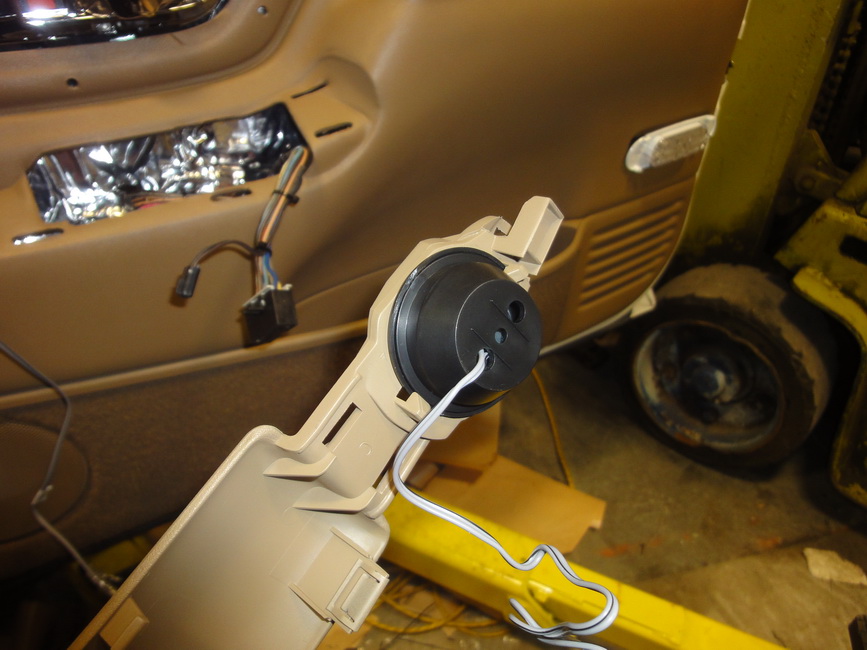
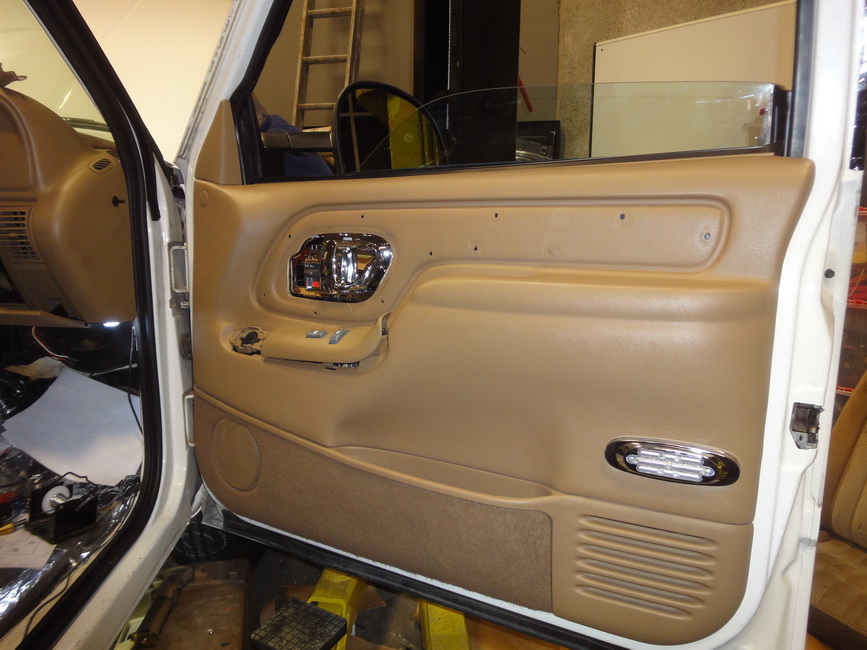
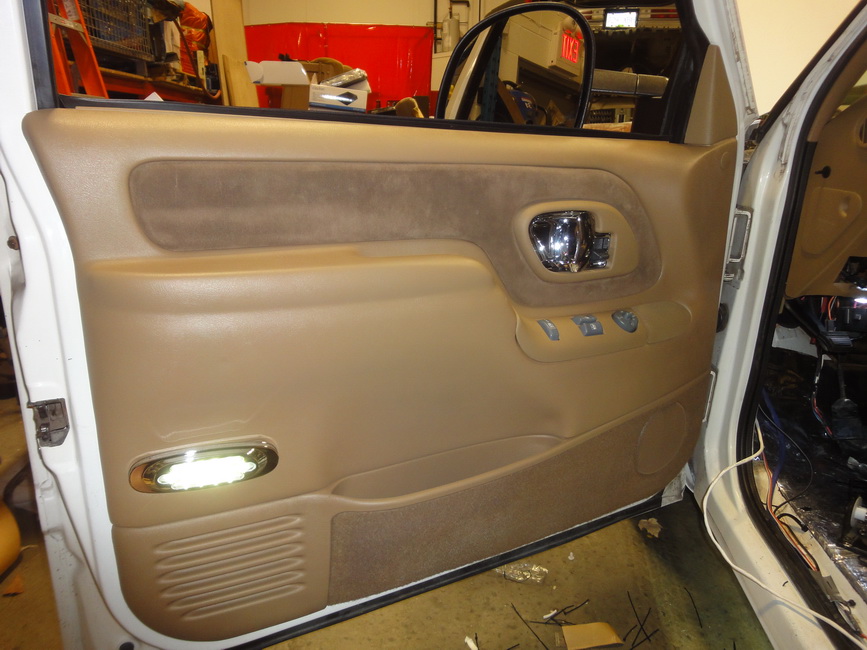
With
the dash installed we had to do the same process with the door
panels and the window/lock switches in them. While the door were
apart we sound deadened the inner and outer skins of the door
with Hushmat
We also upgraded the boring
plastic interior handle with nice chrome ones from LMC Truck as
well as replacing all of the old worn out switches and clips
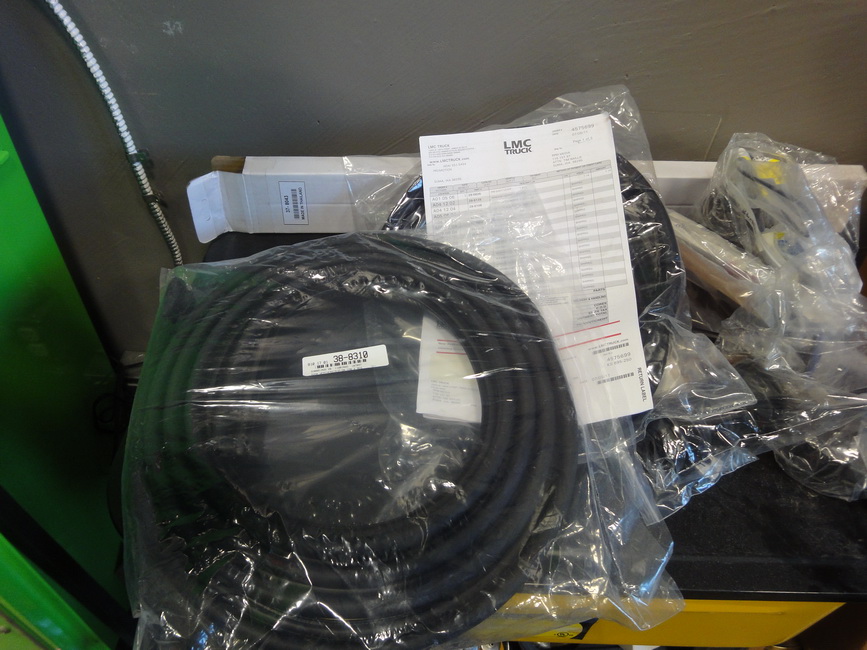
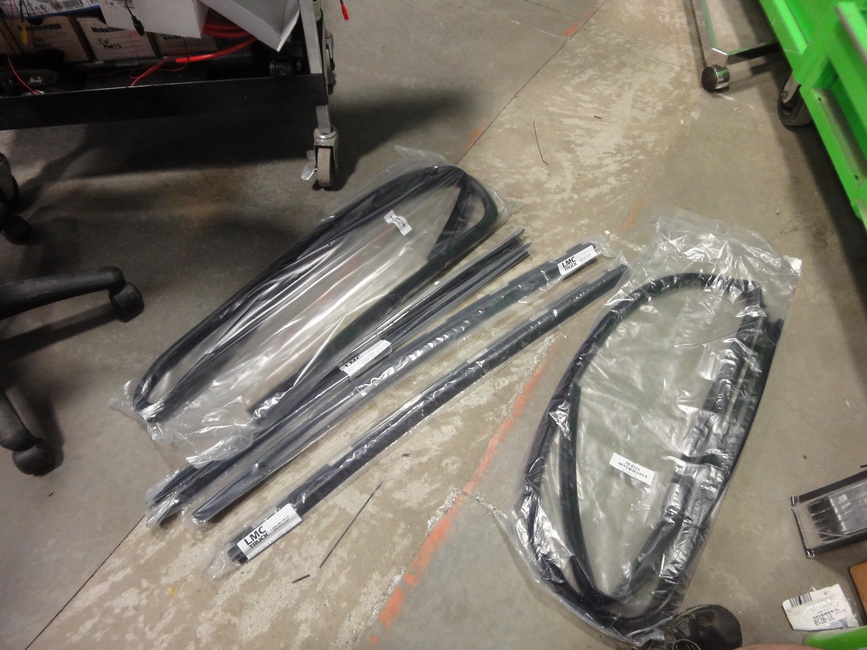
which also came from LMC Truck. The rubbers and seals on the
truck were all worn and sun damaged and made the cab whistle
pretty good when driving down the interstate so we replaced all
of the cab and door seals with new ones also from LMC Truck.
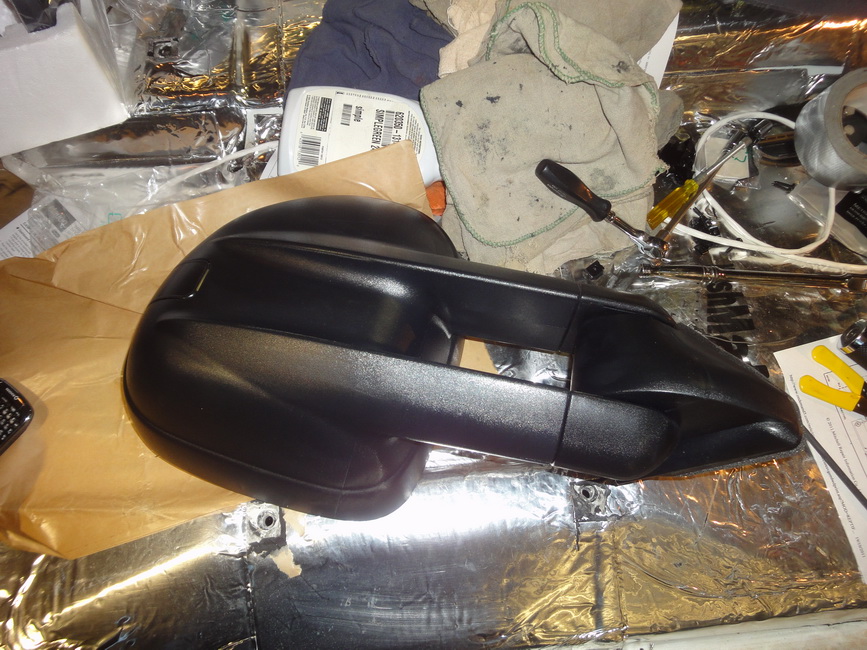
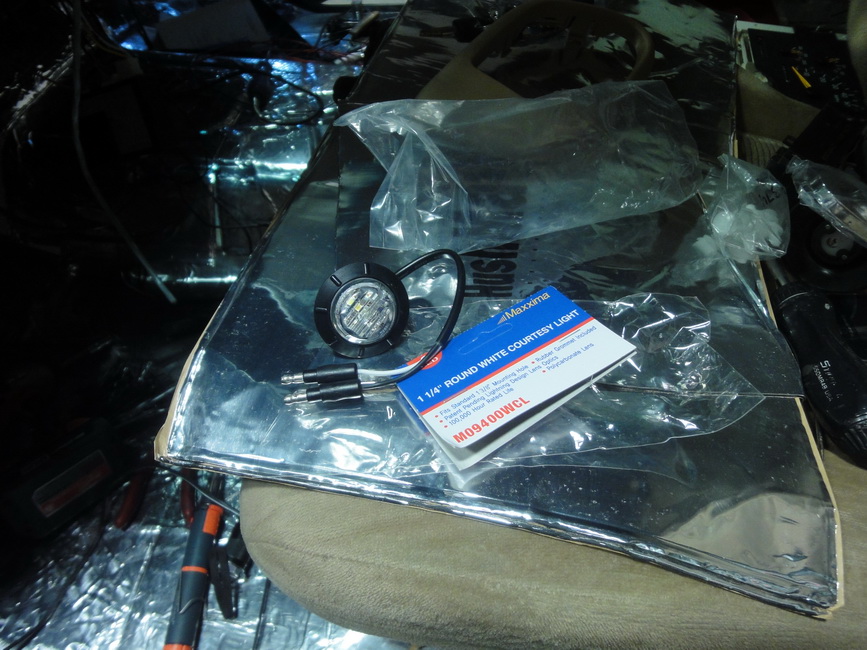
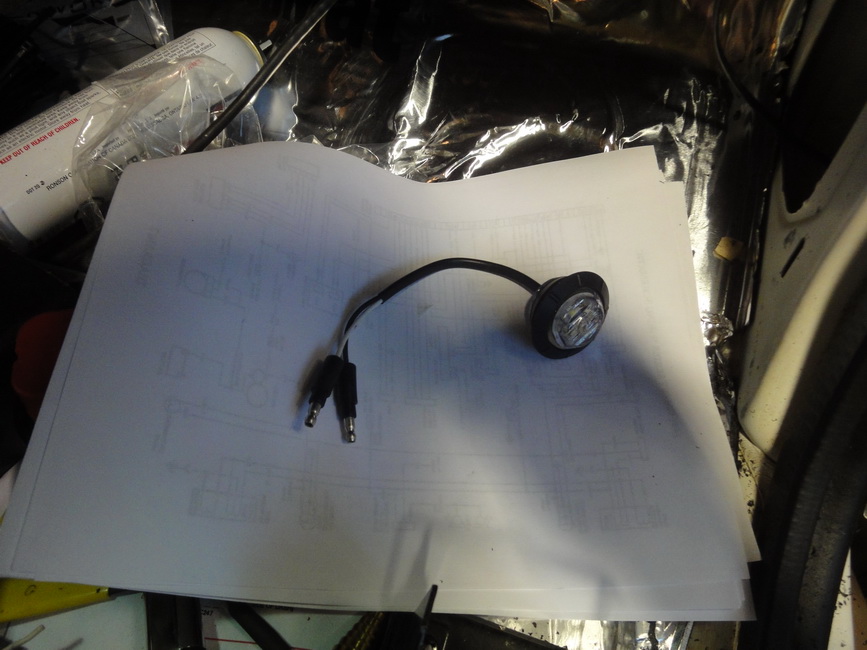
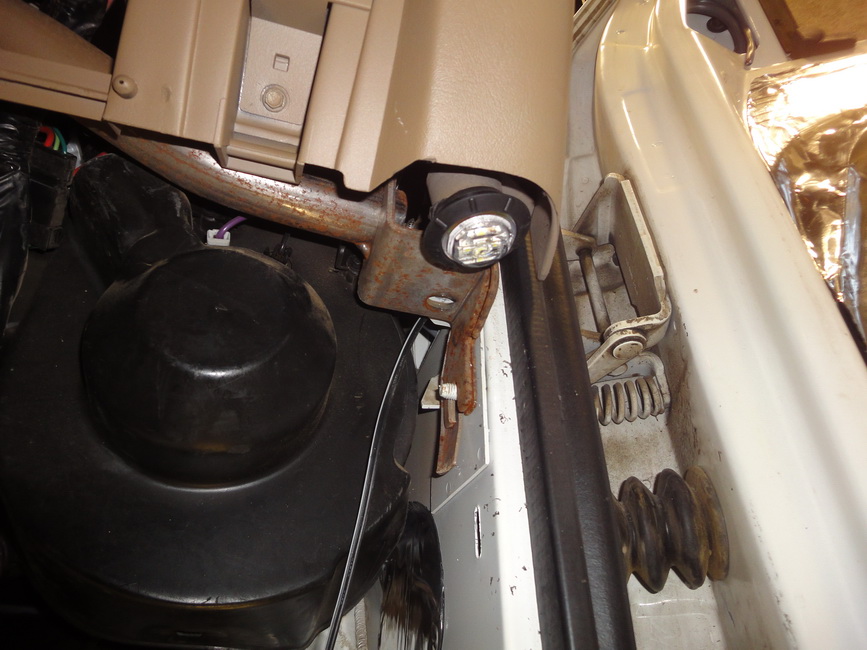
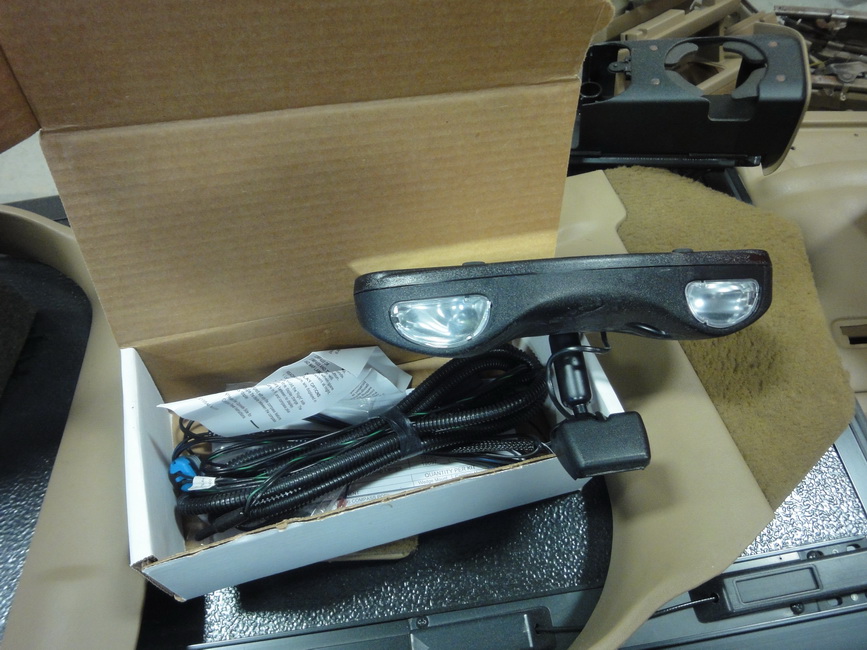
We
wanted the truck to be very user friendly so we replaced all of
the OEM domelight housings with replacement LED fixtures from
Maxxima. We then replaced all of the halogen bulbs in the truck
with LED replacement from EVO (CIPA USA) for the maximum output
and low voltage consumption.
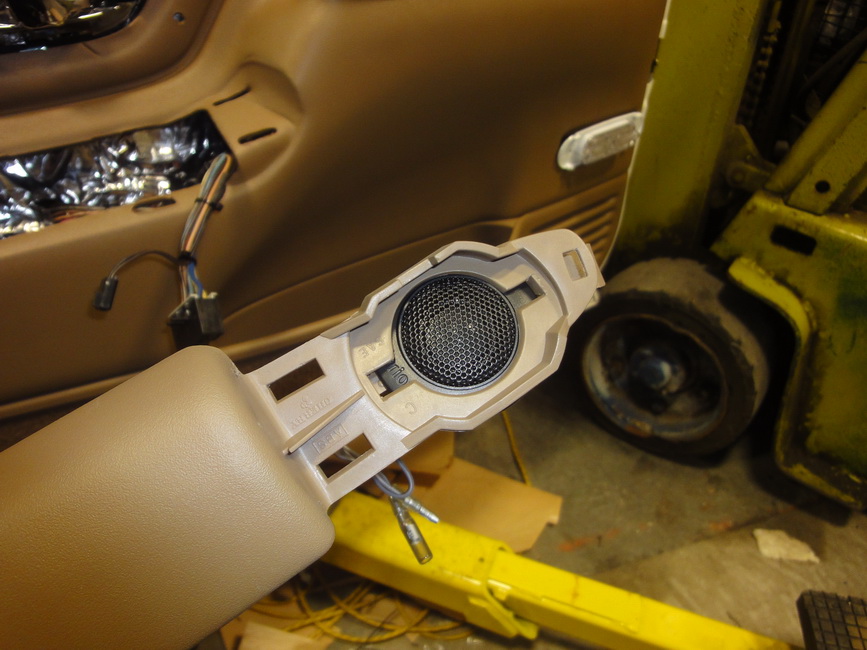
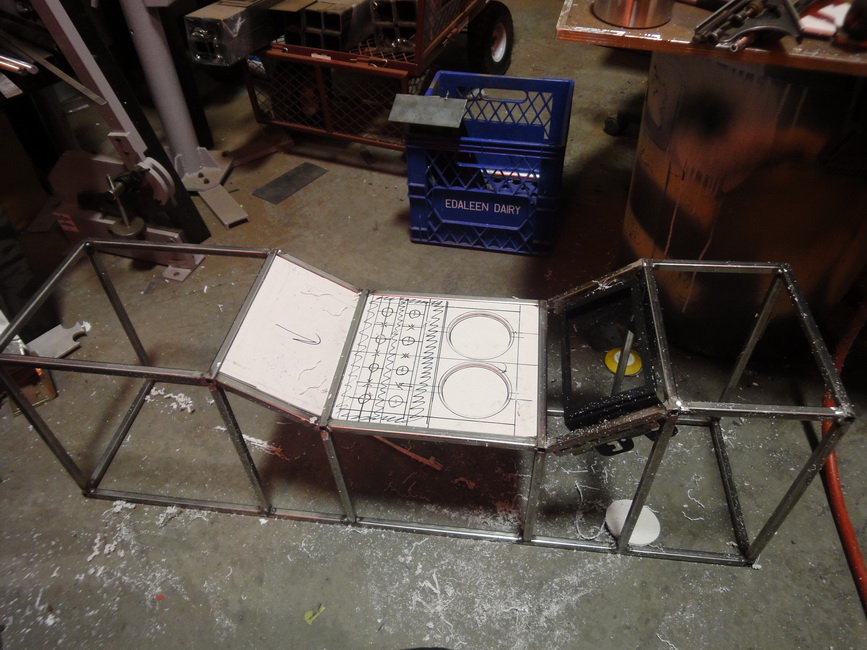
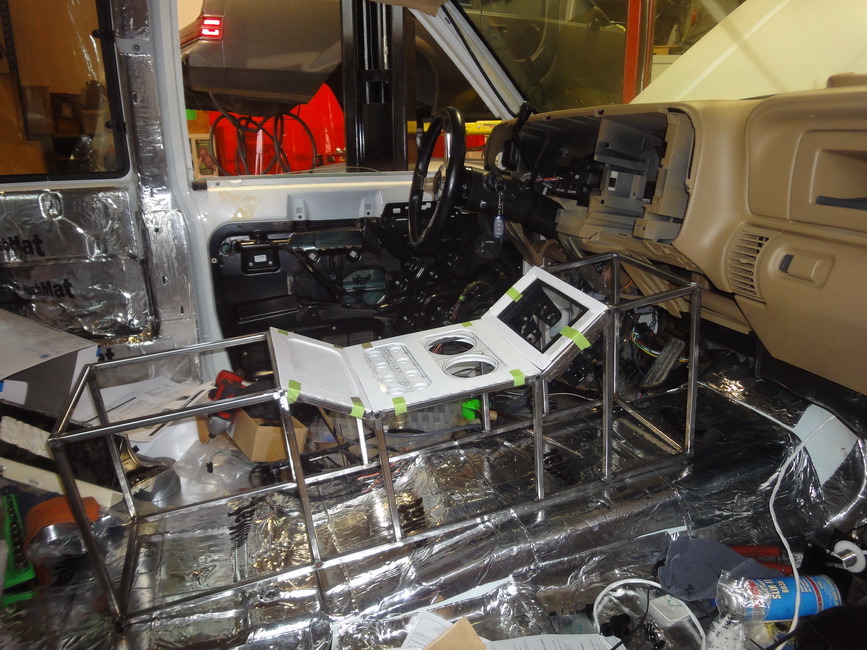
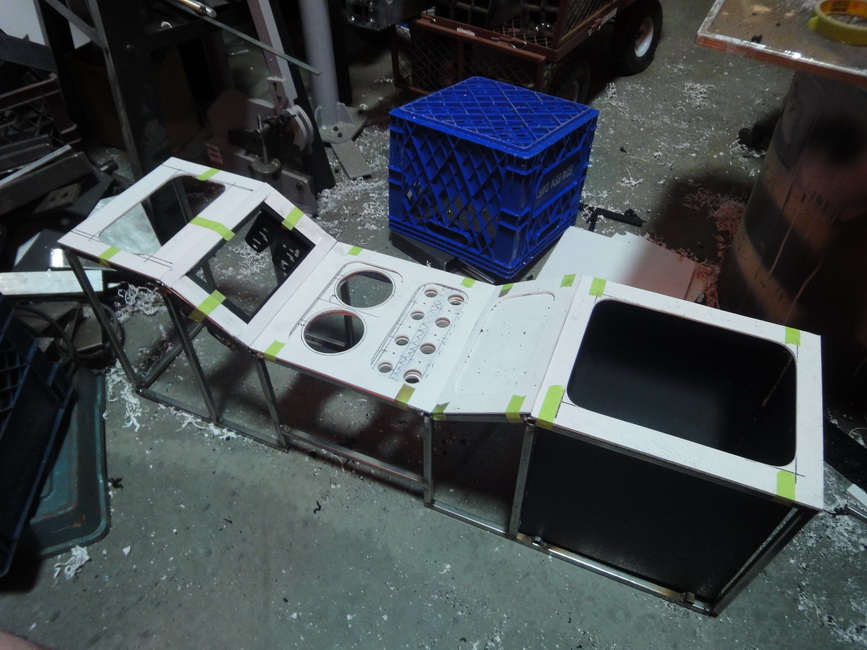
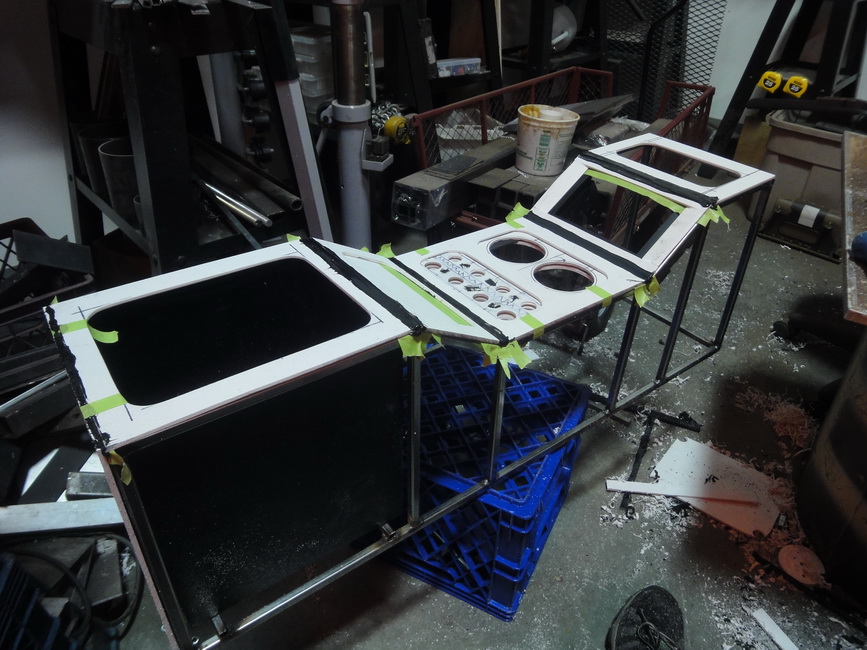
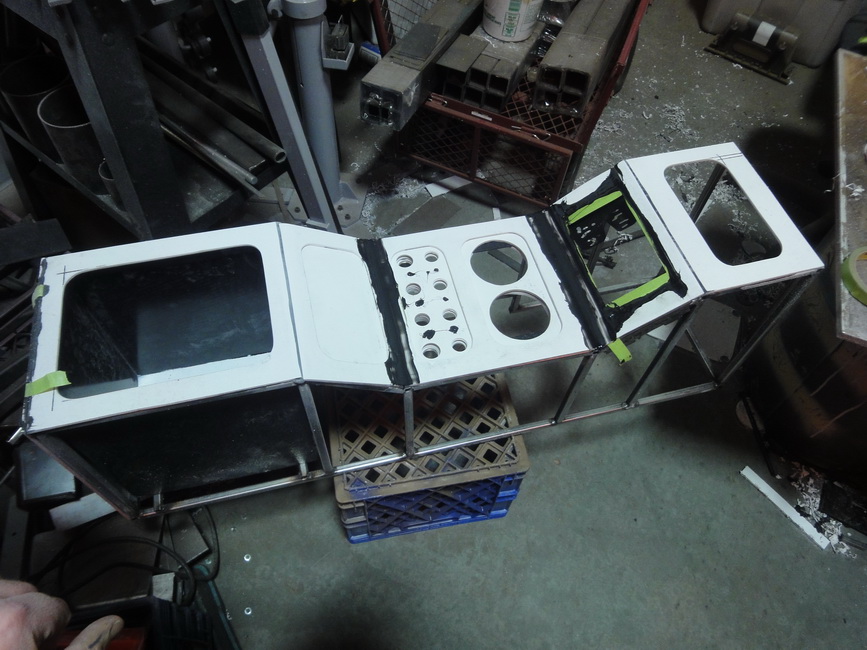
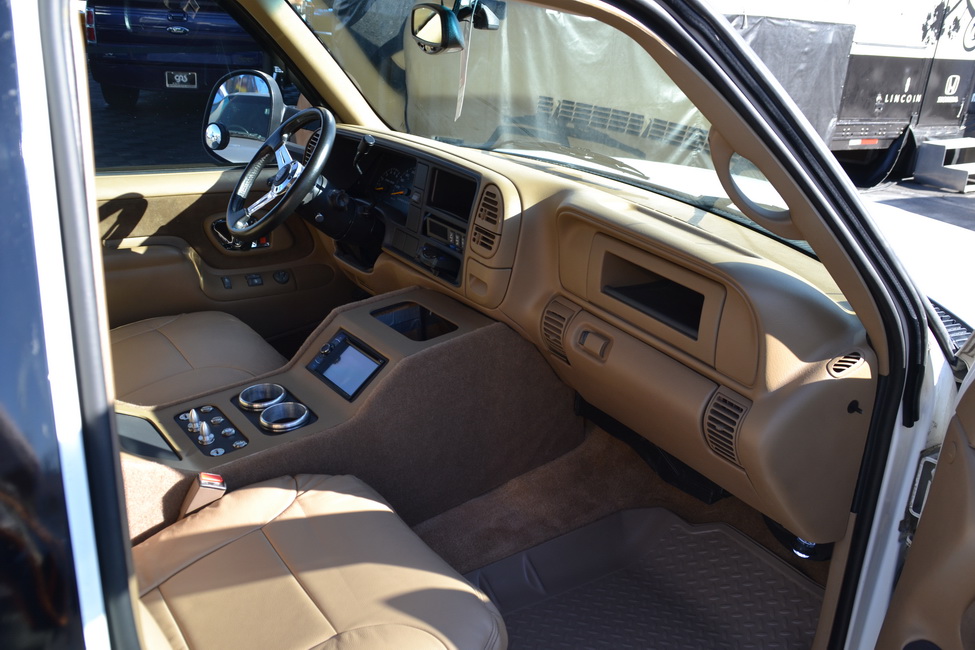
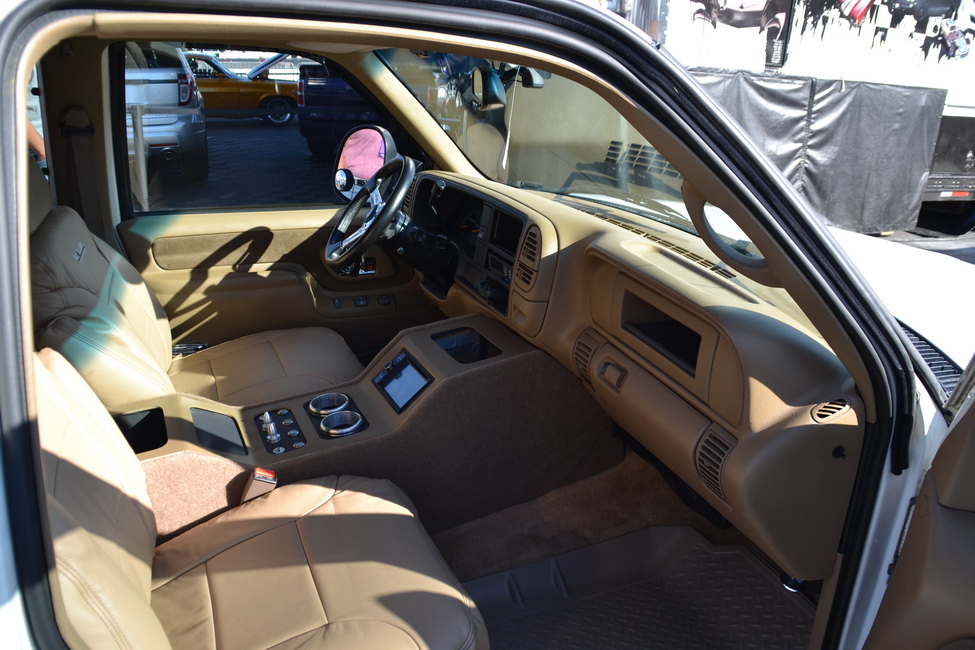
Once we
had everything installed and fitted in the cab we began to
fabricate our custom center console. The stock radio in this
dash is located up top but it’s only a Din and a half opening so
instead of modifying the opening we got some empty pockets from
LMC Truck for the stock radio, CD player and passenger side air
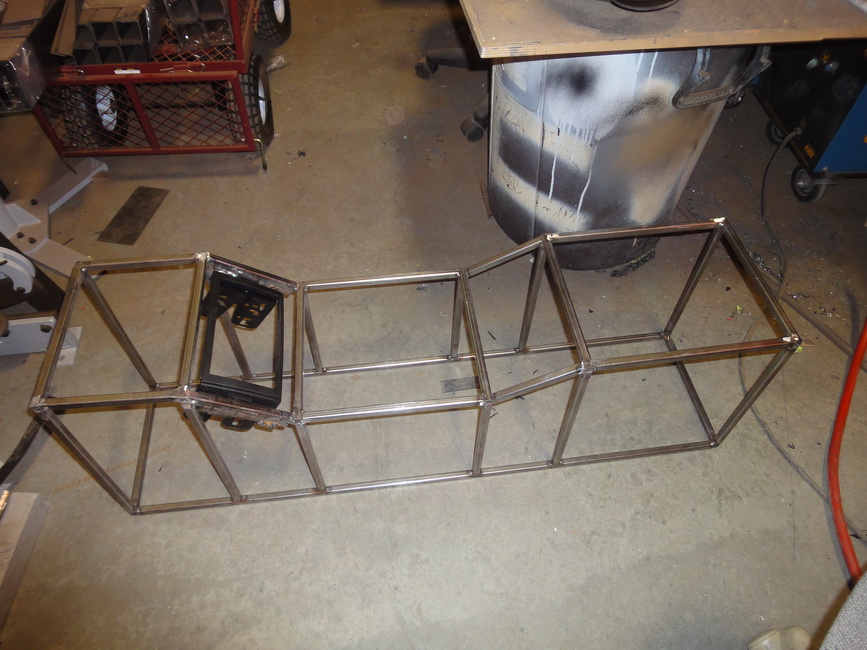
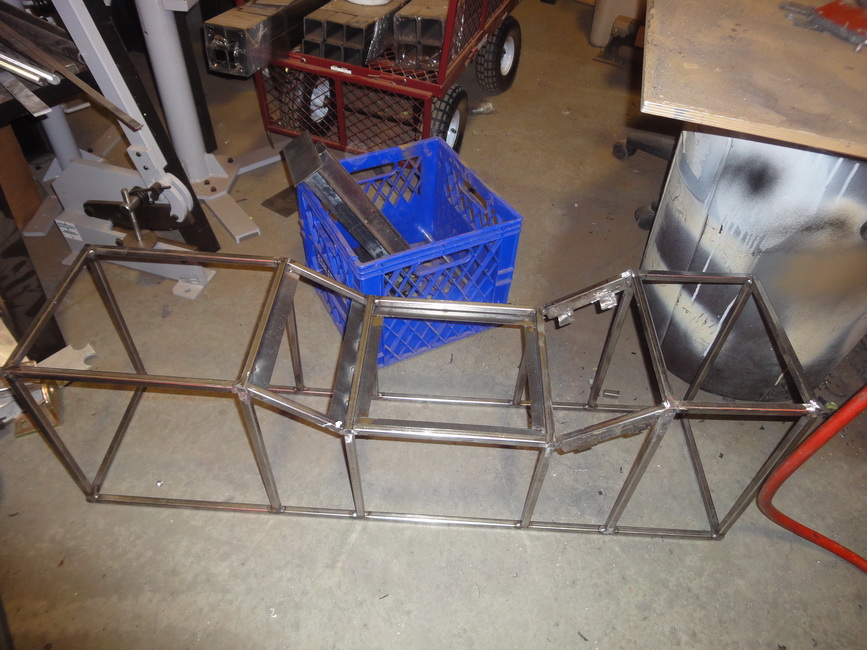
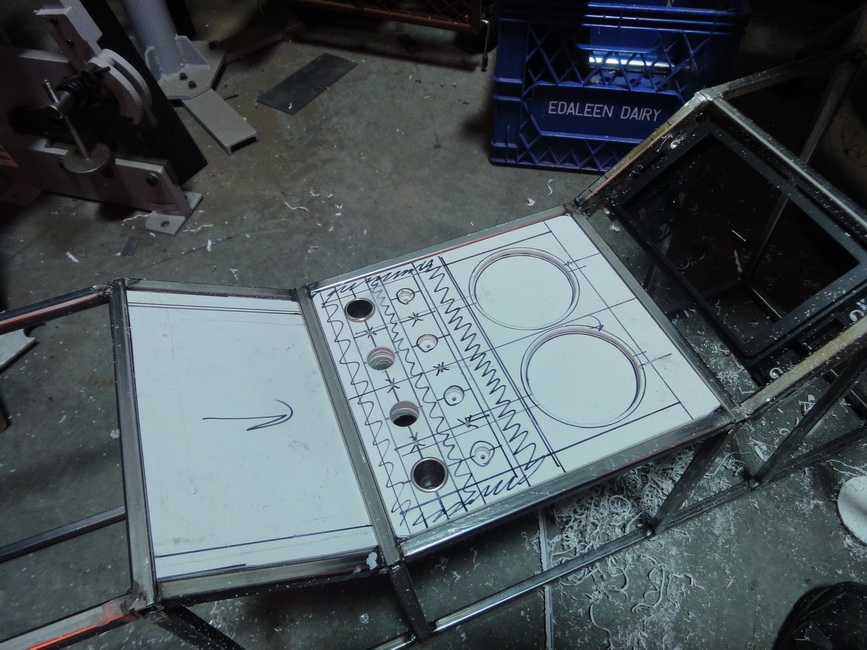
bag spots to give us more storage in the truck. Once we got the frame laid
out we started building our panels we wanted our switch panel,
power ports and cup holders easy to get to and easy to use
without taking our eyes off the road so we placed those low and
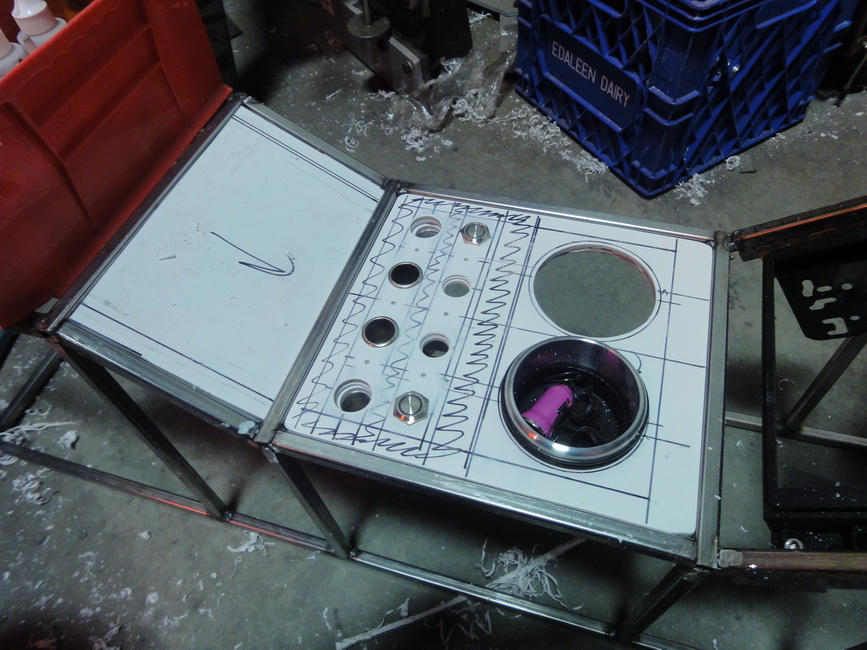
center of the console We installed a couple of power ports but
we also installed a couple of USB power ports as well so we had
some flexability. We installed our lighted switches for our
various exterior lighting options we are adding to the truck and
finally our nice billet cup holders. In front of the stereo we
build a shallow compartment to hold things like cell phones etc
so we also installed a couple of power ports in there for
chargers etc. We then build a large storage compartment at the
rear of the console for larger things. Underneath the console we
wired in a 1500 watt inverter and built a locked storage
compartment for storage of expensive items like cameras etc when
we are at shows. Once we build the console we built a one piece
top for the whole console out of ¼” ABS and dyed it with our
Color Bond paint from LMC Truck, we then build sides and wrapped
them in OEM tan carpet.
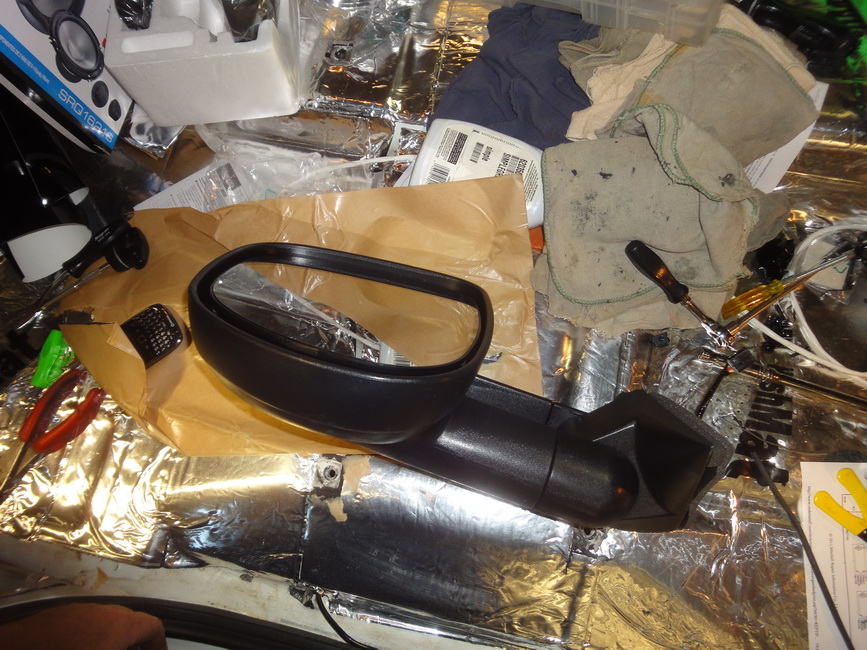
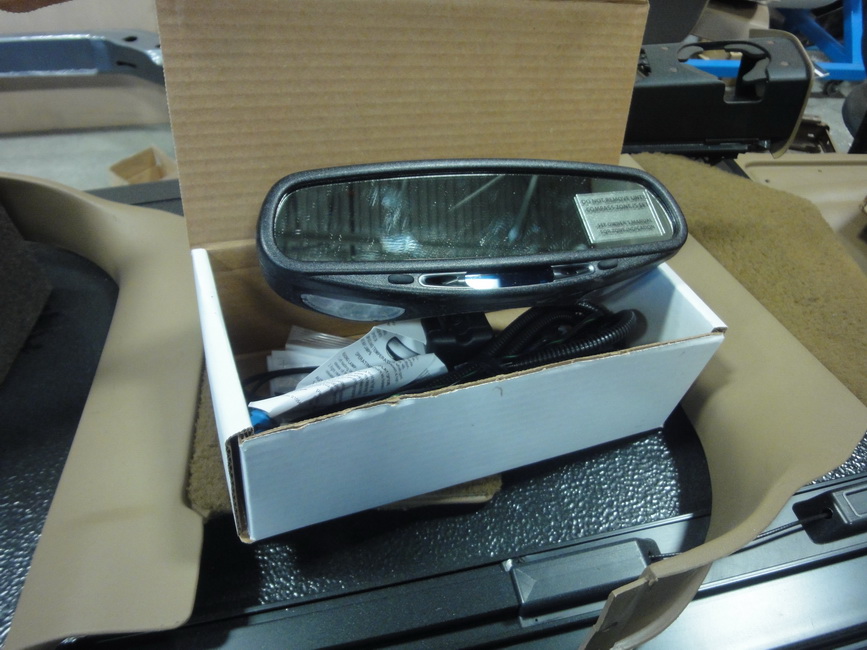
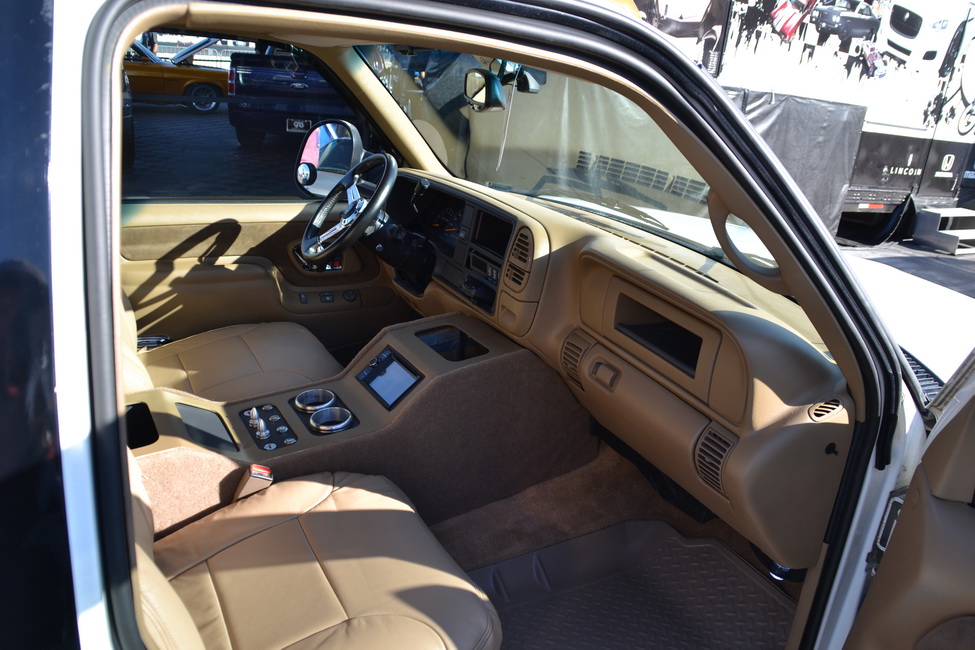
The
final touches we put on the interior were our new rear view
mirror from CIPA USA which included a outside temp display, dome
lights and a built in compass. We also hard wired our radar
system with the mirror wiring and then installed our new ABS
headliner and visors from LMC Truck and finished it all up with
front and rear heavy duty molded floor mats from Husky Liner.